Table of Contents
PCM2707 USB DAC + Amp
I began planning for another portion of my security system, and I wanted the new audio subsystem to based on a Raspberry Pi. It's widely known that the sound quality from a Raspberry Pi's 3.5mm audio jack is less than stellar - it's just PWM through an RC filter, not a true DAC. When testing some Python using pygame to play sound, there was a ton of static. To get higher quality audio, I considered a few options. The obvious choice is to get a generic USB sound card. They make plenty of cheap, small modules that plug in to USB and have 1 analog output and 1 analog input with audio quality significantly better than the Raspberry Pi's onboard audio. However, I wanted to drive a speaker directly, so it made more sense to have a USB sound card that also had a an audio amp. After a little research, I found the PCM2707 from TI is quite popular among audio enthusiasts for it's high quality audio. One of the nice features of the PCM2707 is that it uses standard USB audio drivers that are built in to most operating systems. It doesn't require drivers and works on Windows, Mac OS and Linux.
As I was making the finishing touches on the layout for this board, I learned more about the I2S audio capabilities of the Raspberry Pi and ended up following that path with my I2S Audio DAC Amp. But this still turned out to be a great headphone amp!
Hardware Design
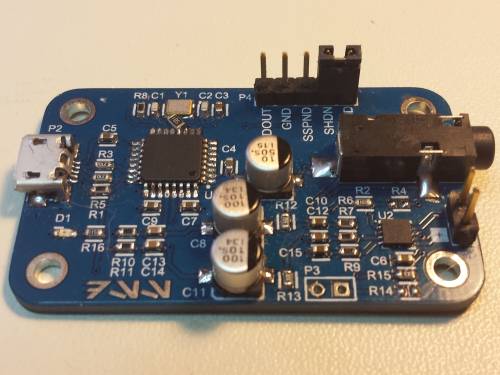
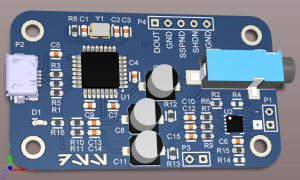
The design of the board closely follows the application circuit from the PCM2707 datasheet. I also found another PCM2707 implementation on Hackaday that I used as a reference. I was designing this board with the idea that it would be used in my security system, so I didn't bother including any headers to the GPIO pins on the PCM2707 that can be used to control playback. I used a microUSB port and all surface mount components, including a small 12 MHz SMD crystal.
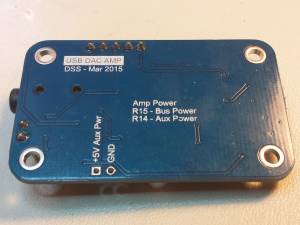
The analog output of the DAC has the recommended low-pass filter from the datasheet, and then branches to a 3.5mm headphone jack and a PCM5102A mono audio amp. The stereo audio is mixed to mono before going to the amplifier, since my intention was to use this board with a single speaker. As I was planning on using this with a Raspberry Pi, I included an extra header to provide external power to the audio amp, just in case there were problems drawing too much current from the USB port. This turned out to be unnecessary.
I also included header P4 with some pins that might be interesting, including a shunt to disable the audio amp, a shunt to disable the PCM2707, and the SPDIF output from the PCM2707. I didn't plan on using any of these, but thought they could be useful. I didn't know if there would be any problems feeding the headphone jack and the audio amp at the same time.
Assembly and Testing
I had my board built at Elecrow and assembled soon after receiving the board. Unfortunately, it did not work! When plugging it into the USB port of the computer, the computer reported “USB device not recognized”. I checked a few things and noticed that I forgot the 1 megohm shunt resistor across the crystal - d'oh! My SMD crystal had a much higher ESR than a standard crystal package. I confirmed that it wasn't oscillating using an oscilloscope. Fortunately this was an easy fix, and I was able to fit an 0805 resistor nicely onto the board without any extra wiring.
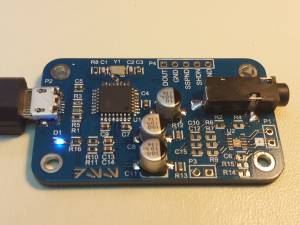
Success! Adding the resistor let the crystal oscillate, and the device was immediately detected by Windows.
During my troubleshooting, I also realized that I had the USB pull-up resistor pulling up to +5V instead of +3V3, as specified in the datasheet. I modded one of my boards to do this correctly, but found it made no difference.
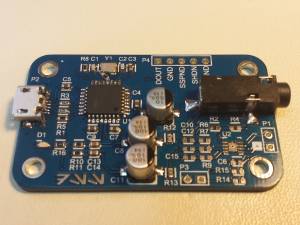
I ended up only building one fully-populated board with the audio amp. Since my I2S audio board superseded this board for my security system application, the mono audio amplifier wasn't really useful. However, this board still works fantastic as a USB headphone amp, so I built several without the mono audip amp.
Playback and Performance
Testing with a pair of over-ear headphones, the audio quality is fantastic. With a peak output of 2.1Vrms, the maximum volume gets quite loud. My current workstation actually doesn't have a headphone output, so with this device I now have a nice way to use my headphones with my computer.
Works with Android
I also learned that since Android 5.0, USB audio devices are supported over USB OTG. If you have a phone or tablet that supports USB OTG, you can use USB audio devices. Using a USB OTG adapter, I was able to connect the my board to my Nexus 7. It was immediately detected and the audio output was redirected to the USB DAC. This was pretty awesome in my book, because the audio quality was much better coming out of the USB DAC. More importantly, the volume is much louder! I have found this to be incredibly useful on plane flights, since I usually need to max out the volume to watch a movie on a plane.
Downloads
PCB: March 2015
Writeup: May 2015
