Sidebar
Table of Contents
Bluetooth audio receiver antenna upgrade
I got a pretty nifty Bluetooth audio receiver with NFC to hook up to my speakers in the main room of my house. It works pretty well - the receiver stays on all the time so I can connect my phone to it whenever, and the 3.5mm audio out can be hooked into any powered speaker system.
There was one problem: the wireless range was pretty terrible. I could have my phone on me anywhere in the main part of the house, but if I walked into the kitchen or my bathroom with my phone in my pocket, the audio would stutter and lose connectivity.
The receiver has no external antennas, so I figured it must be using simple PCB trace antenna. Fancier devices might have multiple antennas for diversity, but I wasn't expecting that here.
I have this rule of thumb… a crappy antenna talking to a crappy antenna makes a bad connection. PCB trace antennas are great because they are basically free (part of the cost of the board) and don't add to a BOM (Bill of Materials), but they don't have the best performance. The 2.4 GHz antenna in your phone used for WiFi and Bluetooth will almost always be a terrible antenna. So… let's add a real antenna to this thing!
Inside the Receiver
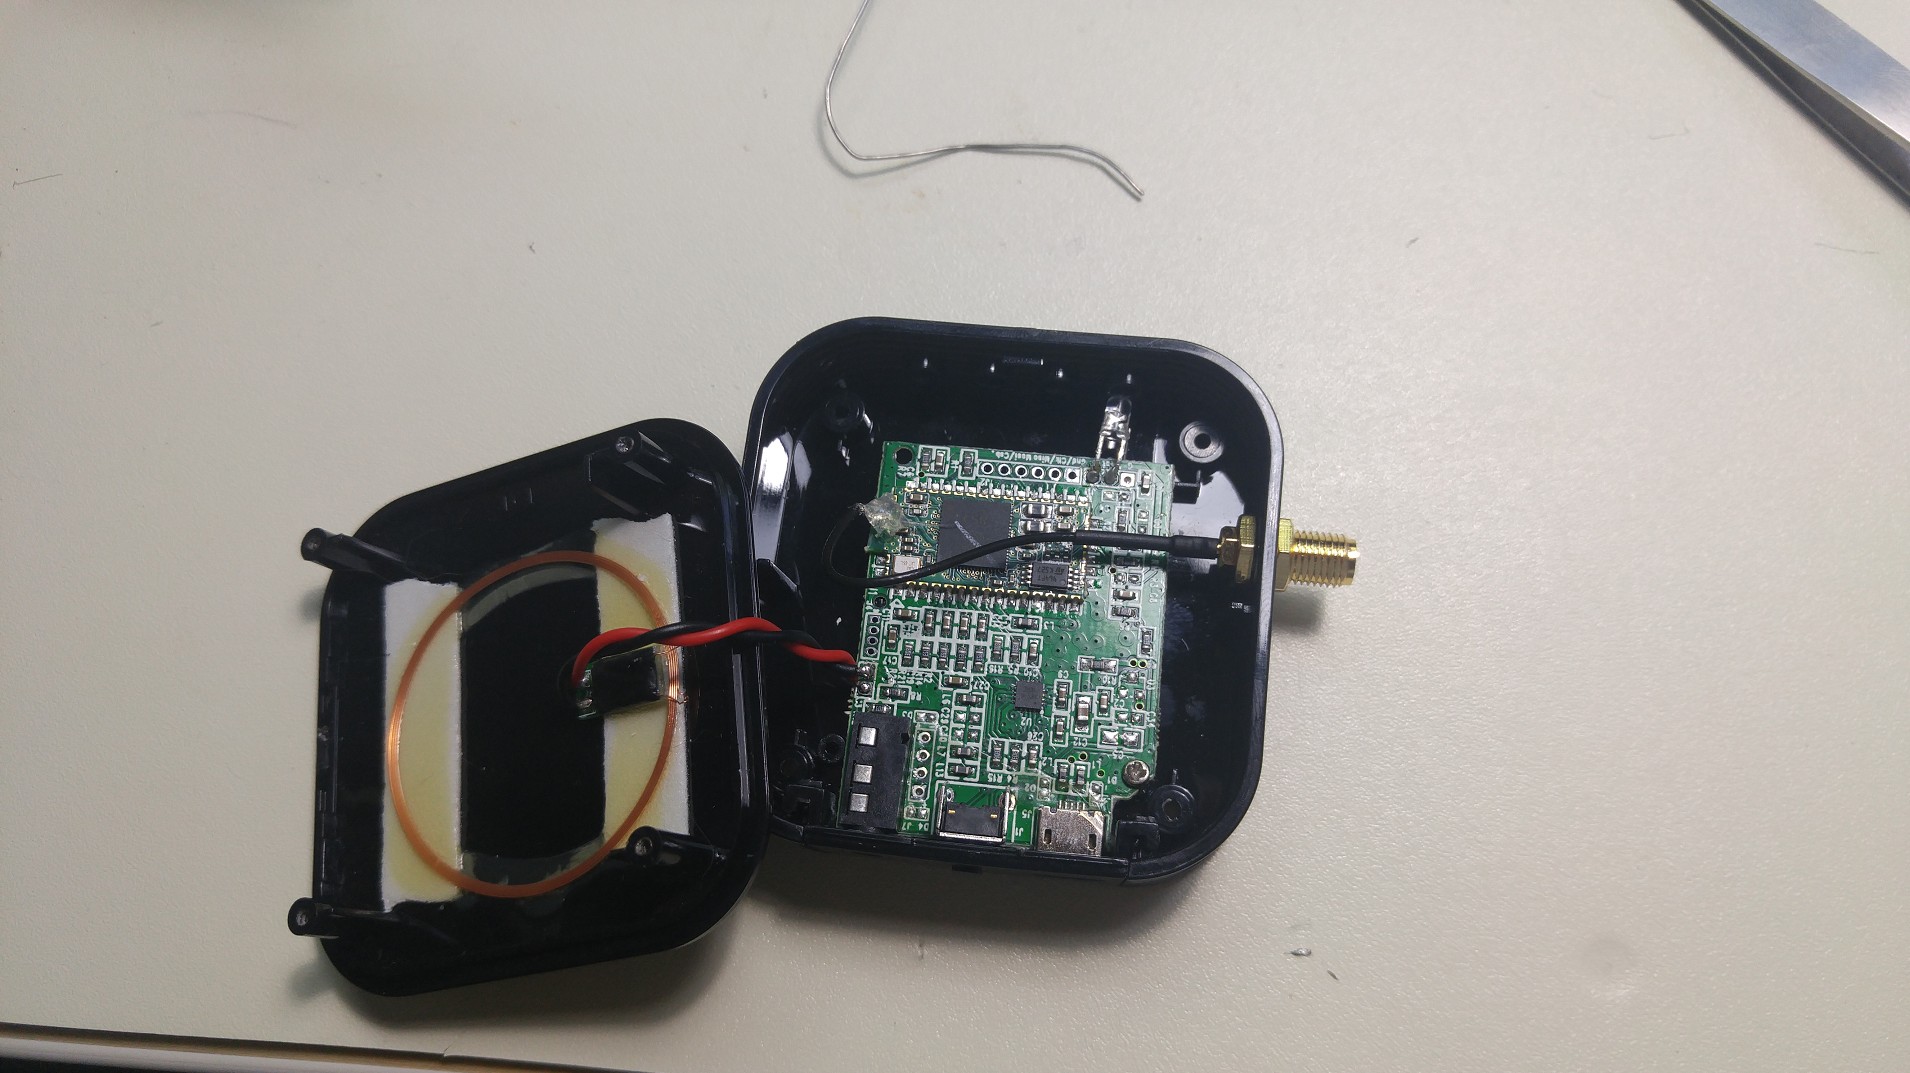
Time to open this thing up and see what we've got…
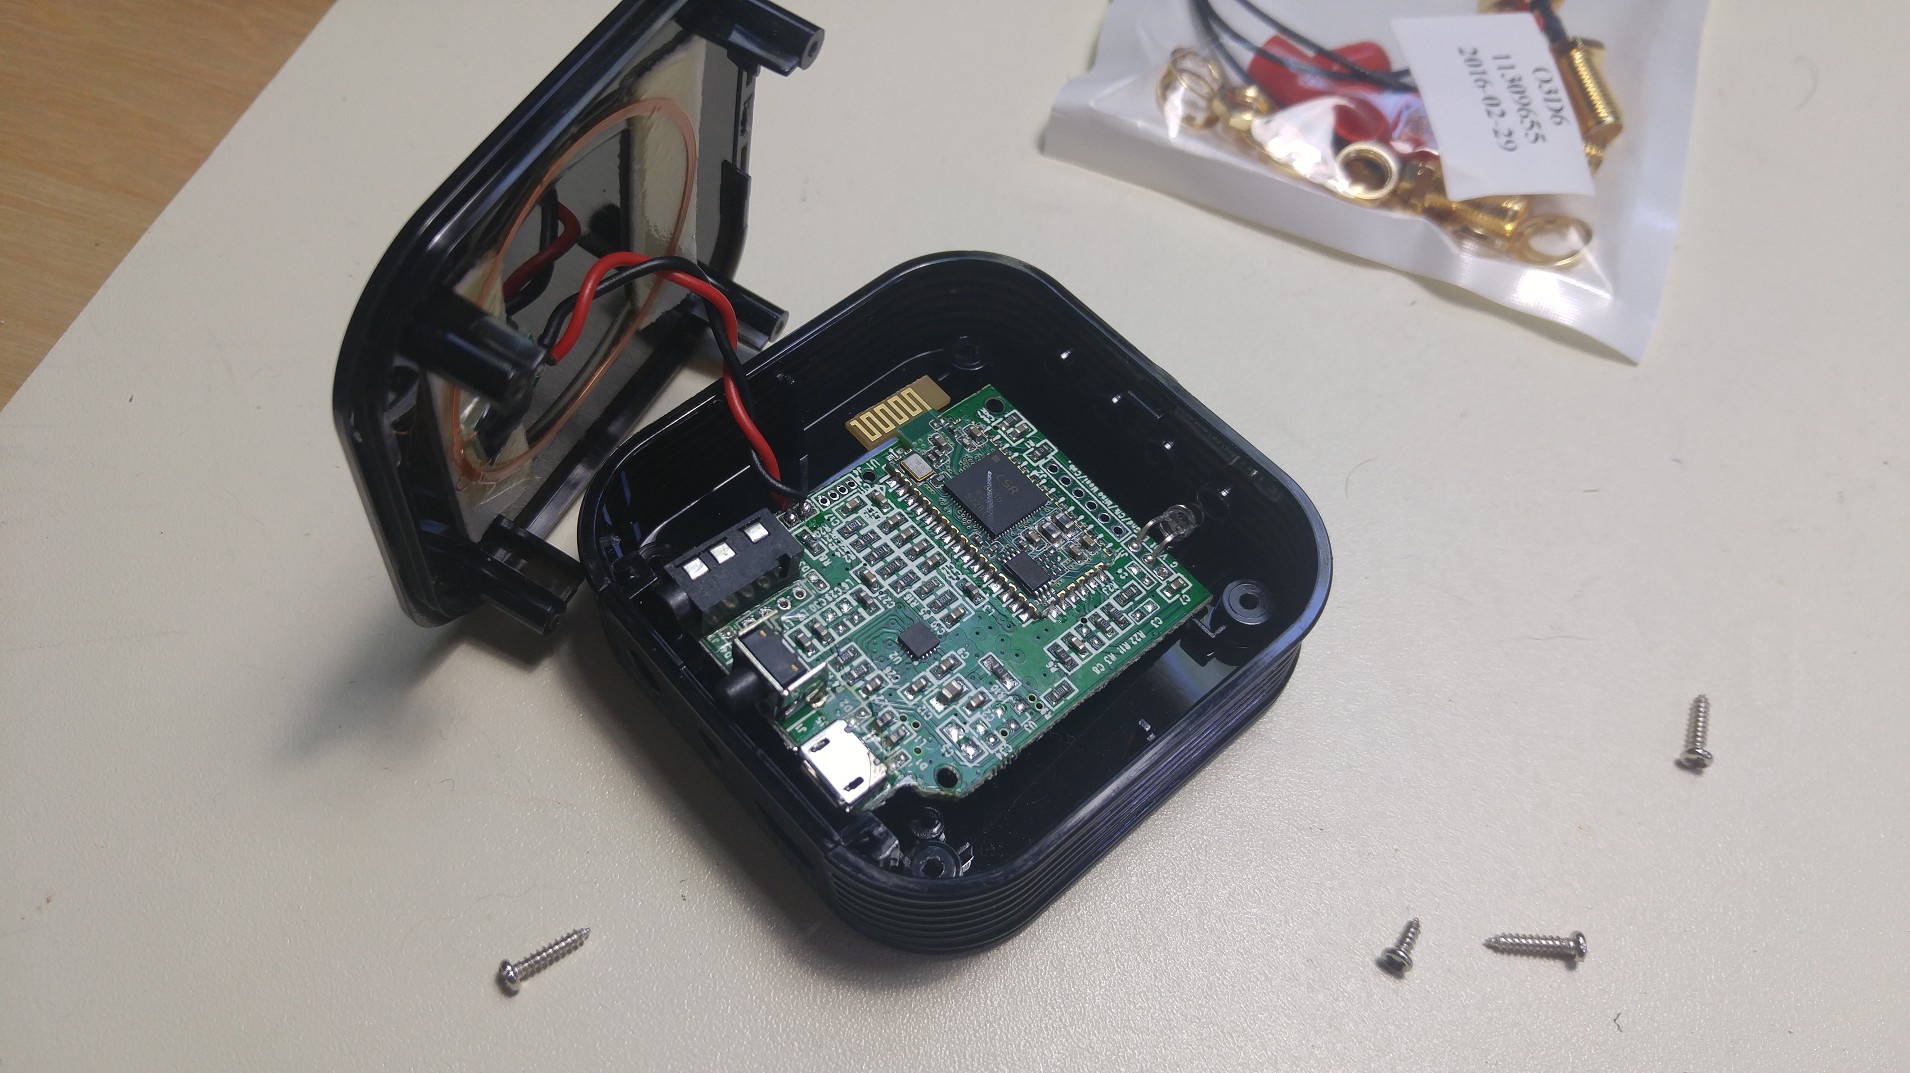

Just as I expected. A nice little wiggle antenna, similar to the one I used for my security system modules.
It appears that the designers used a Bluetooth module and stuck it on their main PCB. This is very convenient for an antenna modification, because the PCB trace antenna is sticking off the main board. (there's also some headers with SPI pin labels near them… looks like this board could be fairly hackable!)
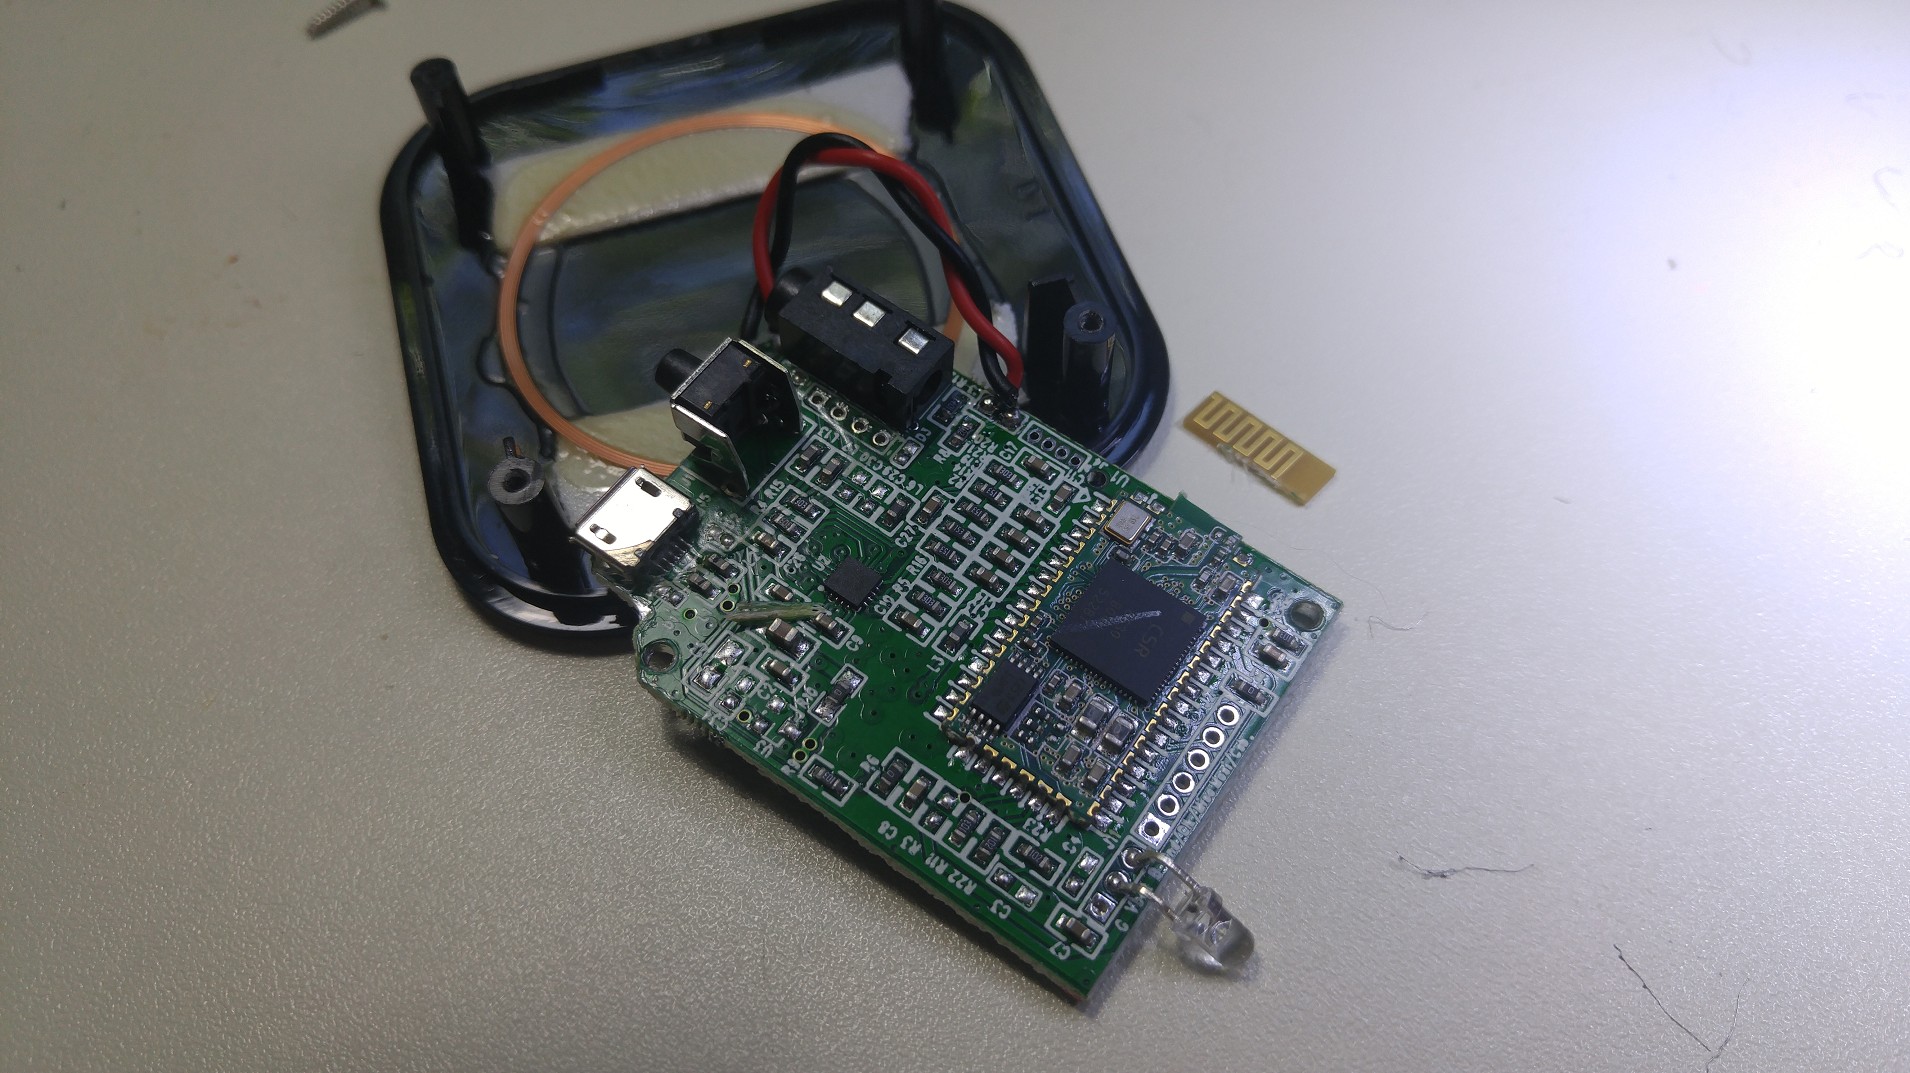
One little snip with some cutters, and the old antenna is gone…
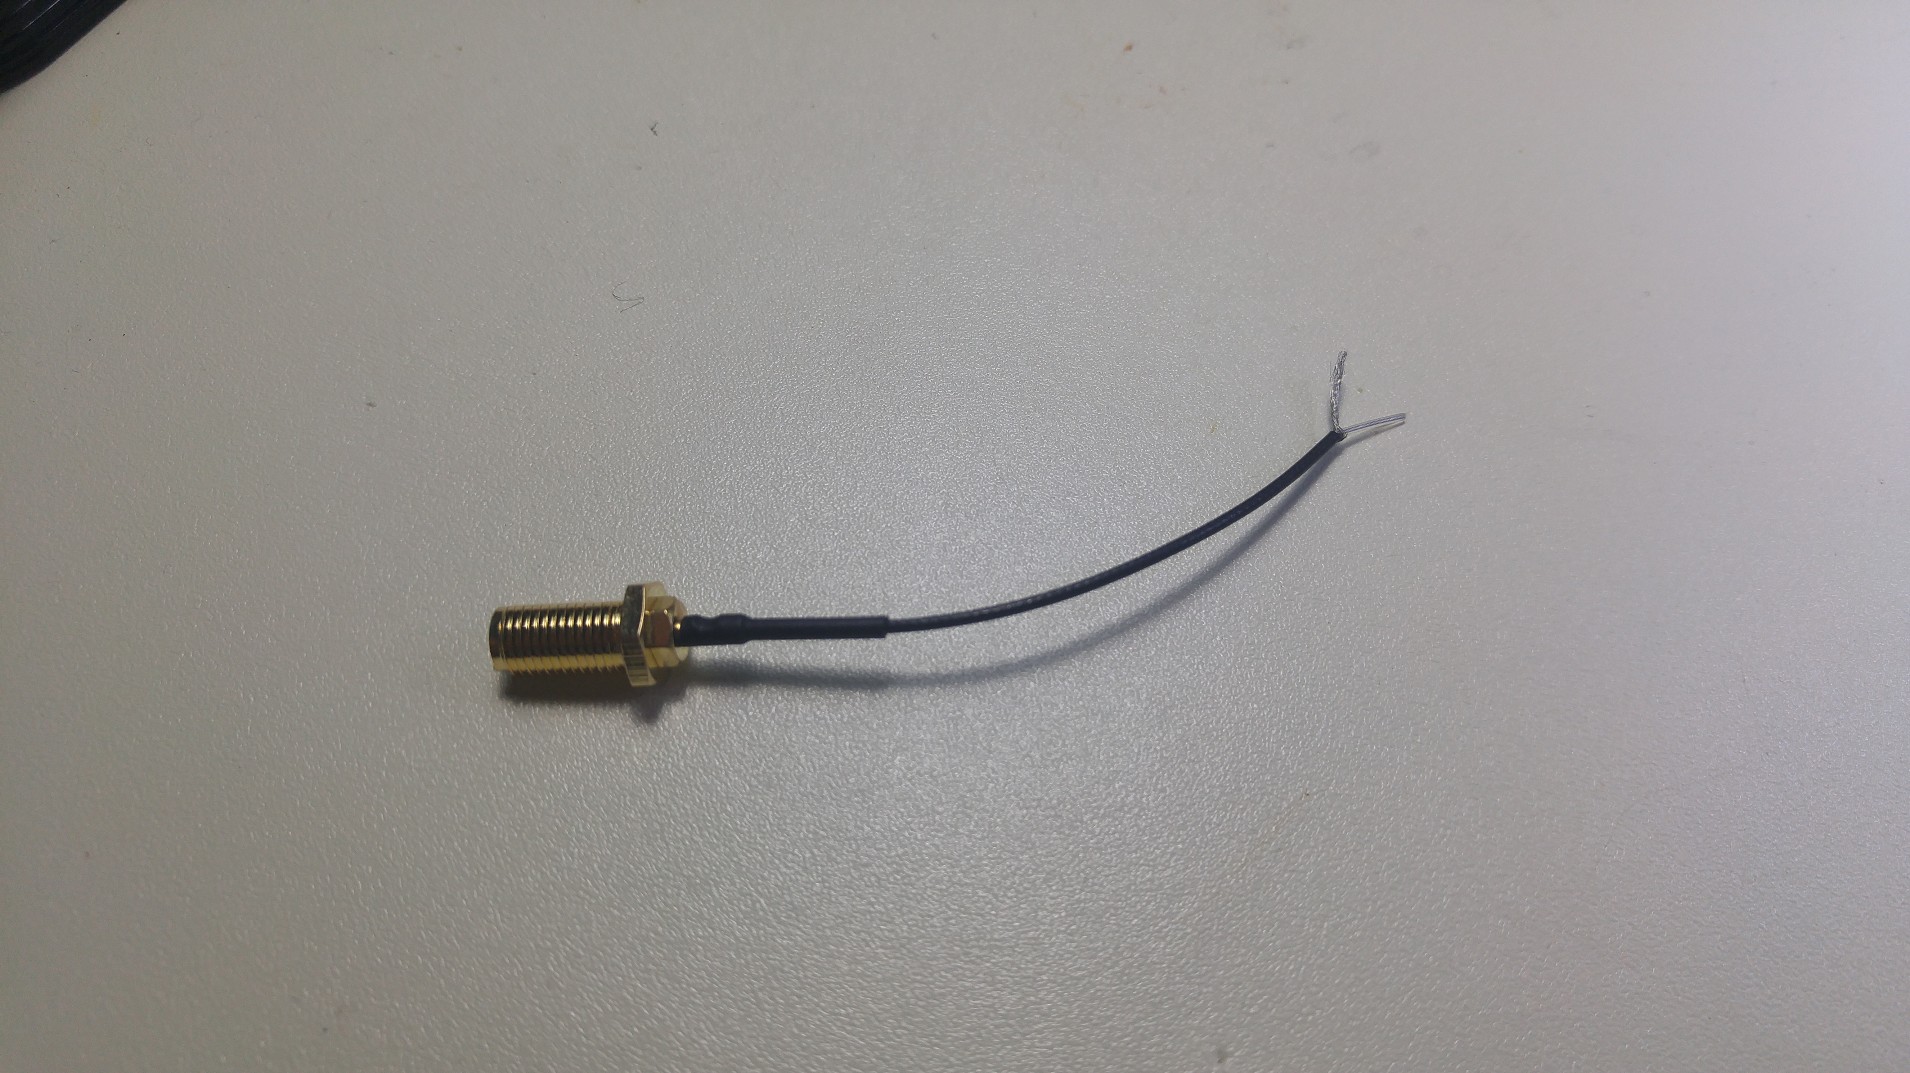
For the best performance, the new antenna should be outside the enclosure. An external SMA connection would be the most convenient, so I grabbed one of my SMA to uFL pigtail adapters I got on eBay. I cut the uFL connection off, and using an x-acto knife and microscope, I was able to strip the tiny coaxial wire. This tiny coax has an inner conductor (signal), a clear dielectric, a braided outer shield (ground), and an outer sleeve. By cutting just the outer sleeve, I was able to unravel the shield. Then I cut just a small amount of the inner dielectric, so a very small amount of the inner conductor was exposed. The SMA connector also had a locking nut, which means it could be easily mounted on the case by drilling a small hole.
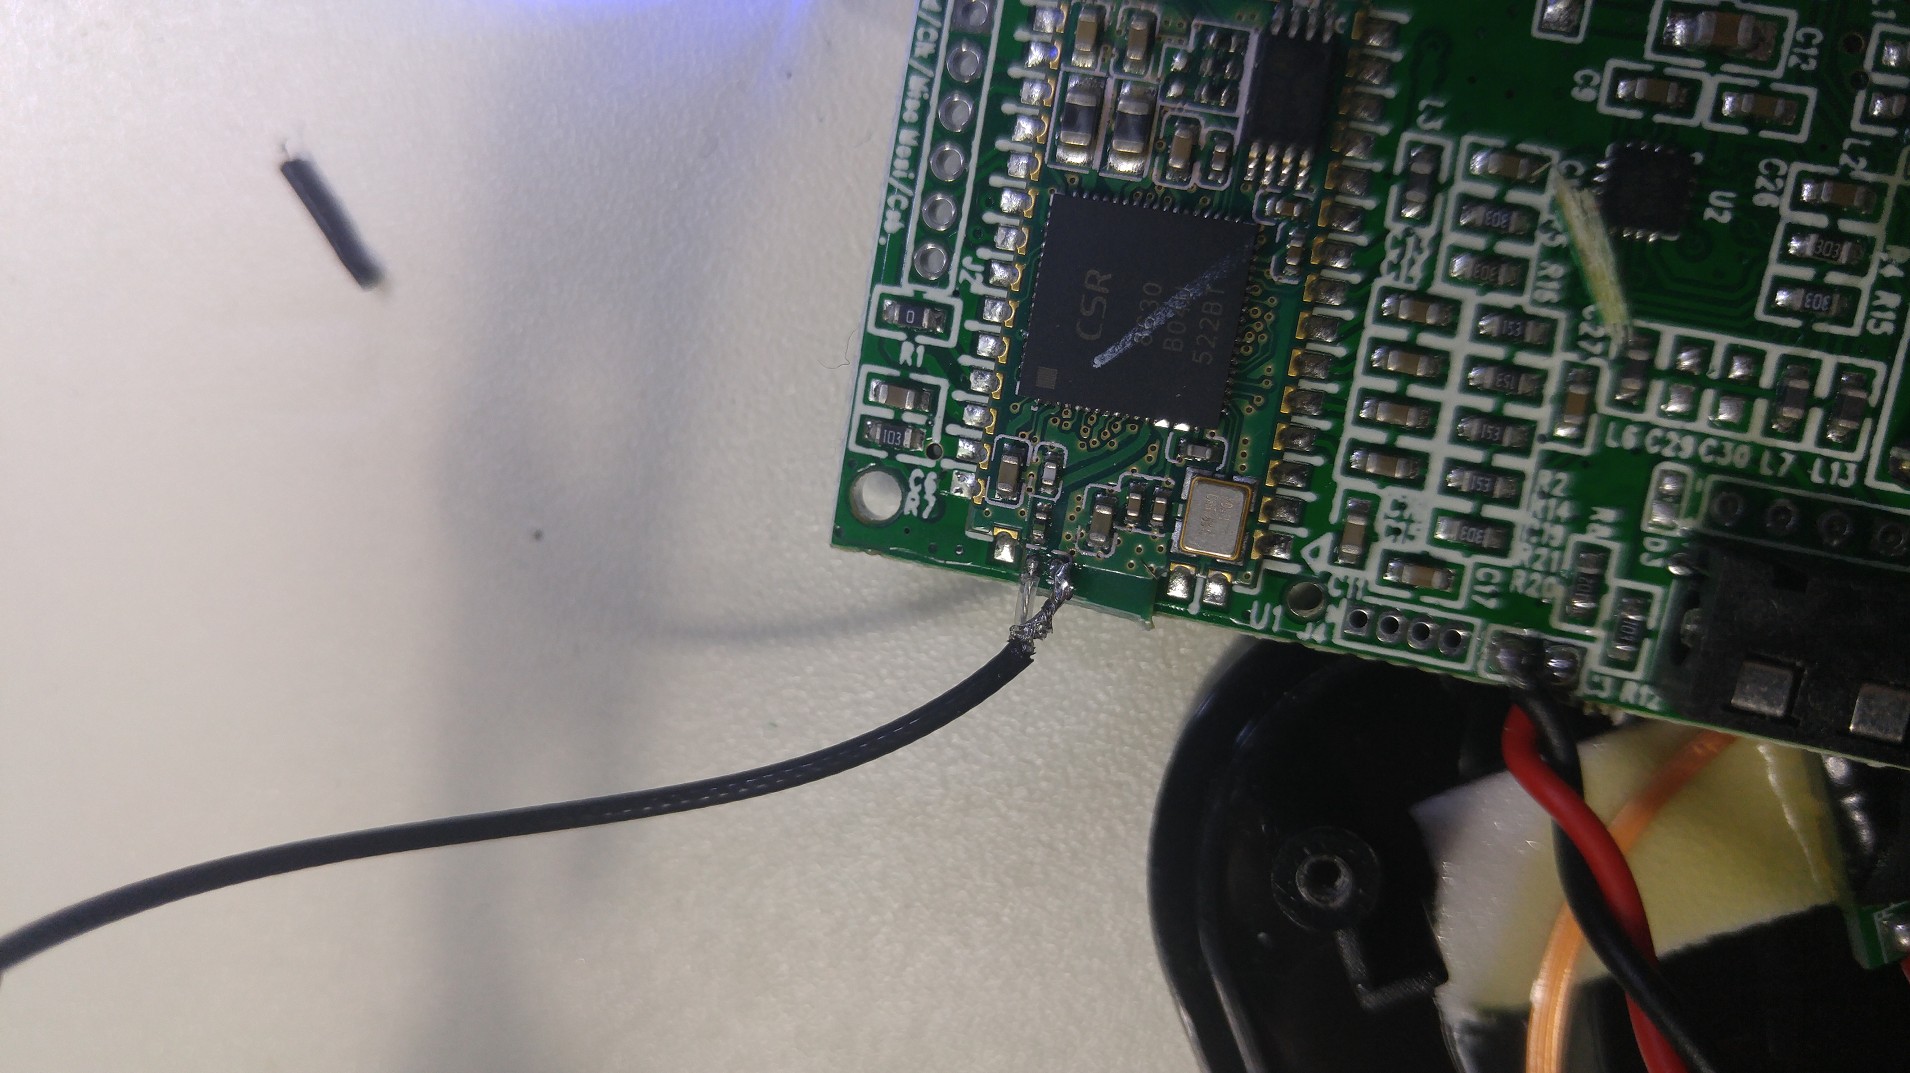
Next, I scraped off a small amount of the soldermask on the PCB trace that went to the old antenna. This is literally just scraping the top until there is enough exposed copper so that a solder connection can be made. I did the same on part of the ground plane next to this trace. With the aid of a microscope, I was able to solder the SMA connector to these exposed copper points. It's important to use as little solder as possible - we want the connection to be as smooth as possible to keep our impedance matched as close as possible. The individual wires for the ground and signal should also be as short as possible.
After that it was just a matter of putting it back together! This was actually more of a pain than I expected. The LED wouldn't go where it was supposed to and kept breaking off… but eventually, success! I paired the SMA connector with a 2.4 GHz antenna from DigiKey.
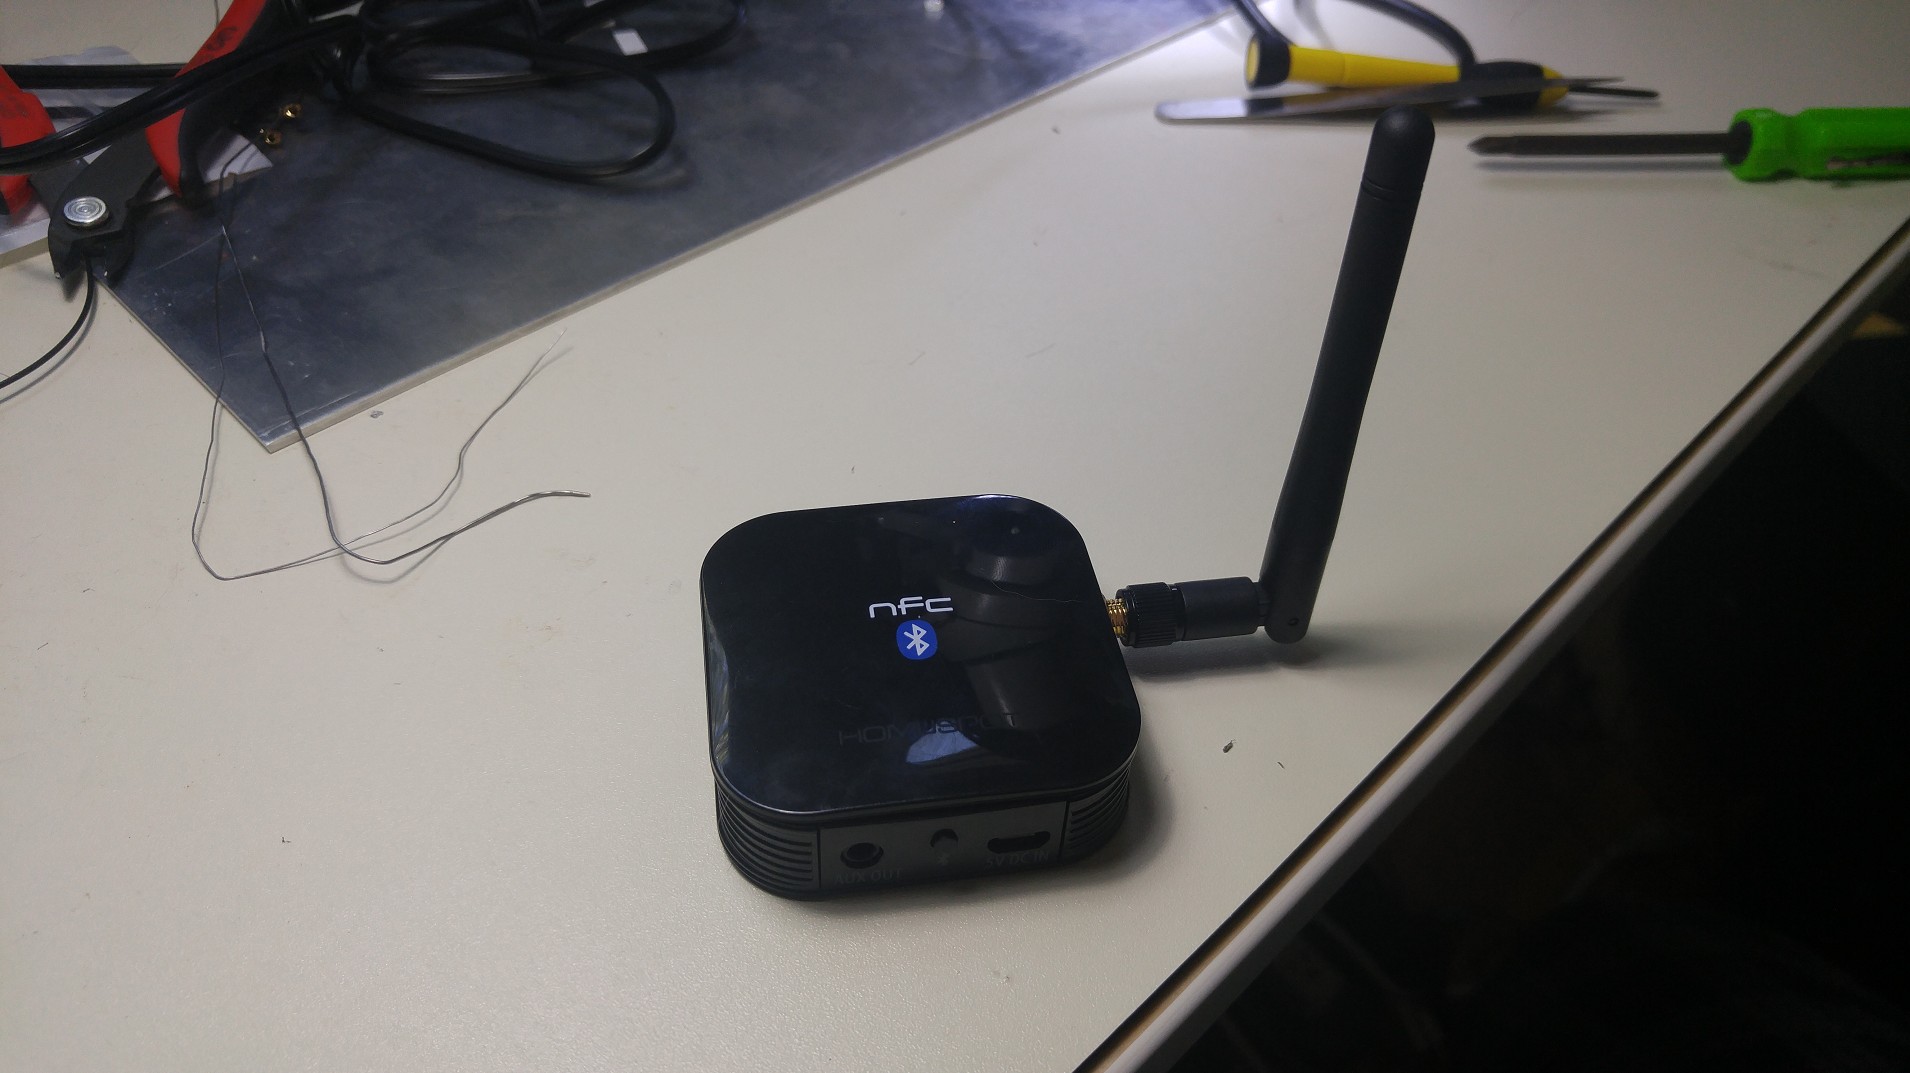
The receiver has significantly better range. I can keep my phone in my pocket and walk anywhere in my house - it still maintains the Bluetooth connection!
Add some speakers and an Amp
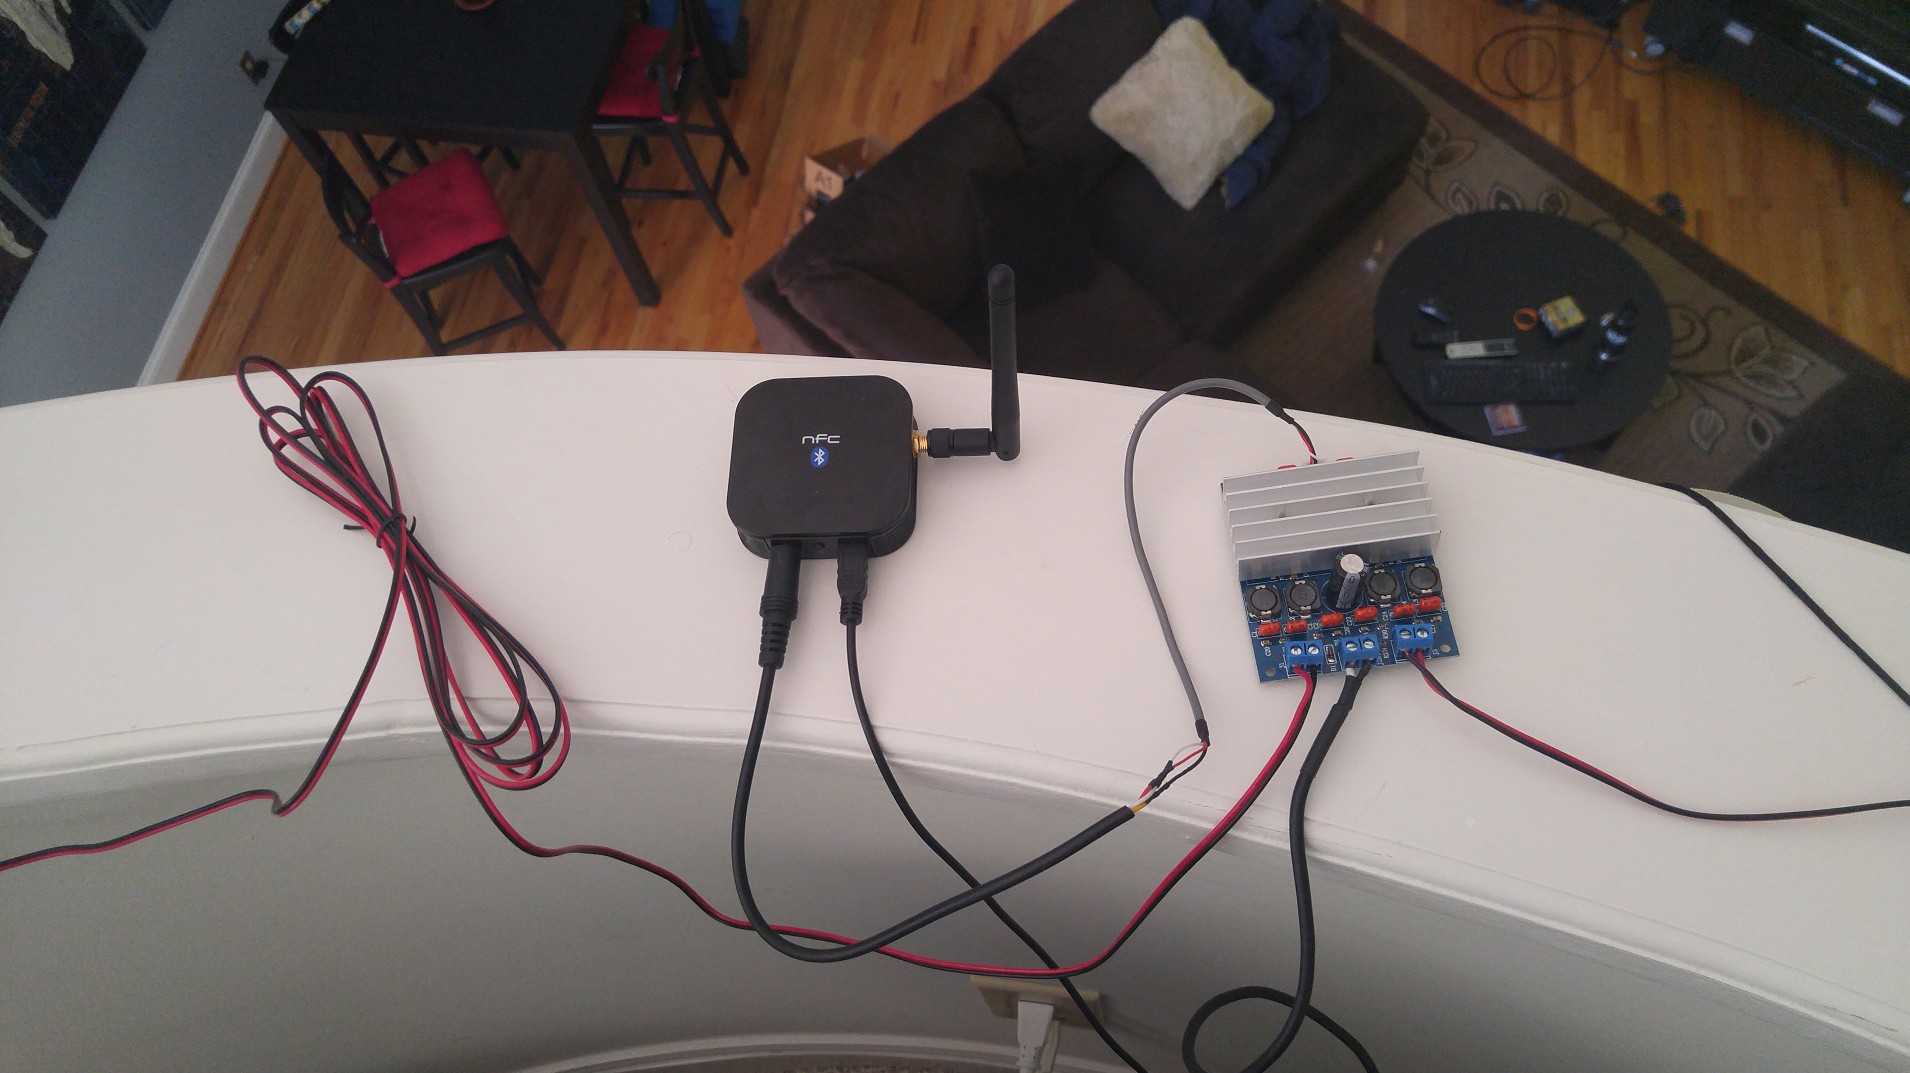
Okay, well, let's just make this a robust, cheap audio system!
The Dayton Audio B652 speakers are pretty awesome, especially for the price of $40 (and they often go on sale). I also got a cheap class-D audio amplifier on eBay based on the TDA7492 that pairs well with these speakers. (Parts Express also has a version of this amp). The audio cable needed a little splice to connect to the Bluetooth receiver. And there's no volume control - but you can control the input volume with the Bluetooth device.


And that's it! Now I just need some kind of 3D printed case to clean everything up…
Page Tools
